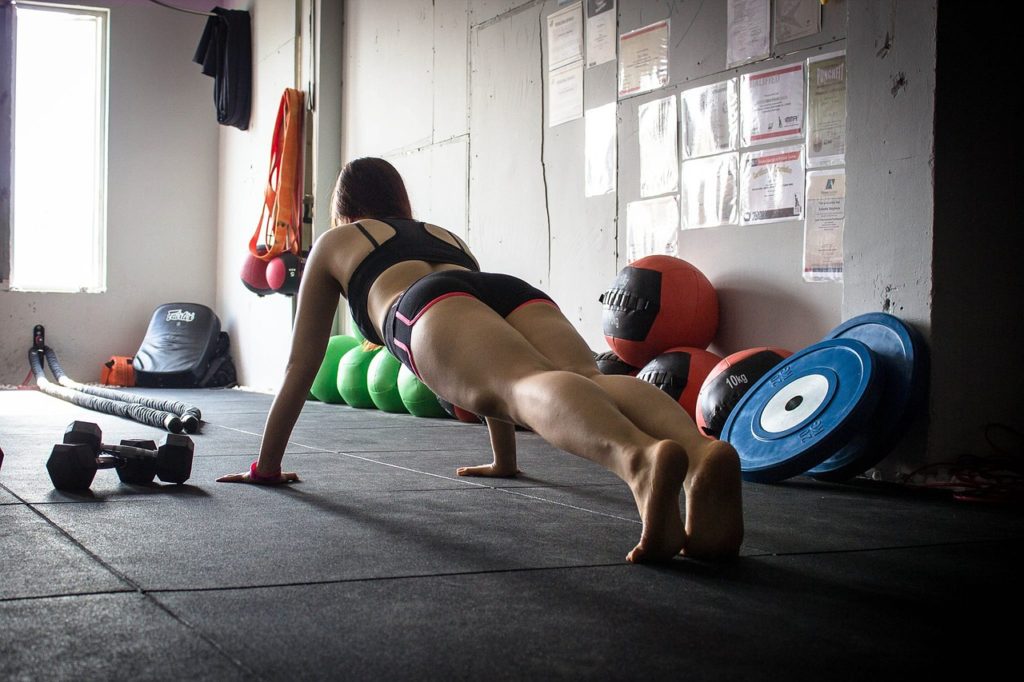
How to modify Plank

You are in your favourite exercise class, the instructor tells you to get into plank position. You know that you have pelvic floor dysfunction or risk of dysfunction or it makes you feel like you need to go to the bathroom.
What do you do?
Don’t feel obliged to do all the exercises that the instructor asks you to do! Group exercise class is designed to cater mainly for healthy non injured participants.
A good instructor should always start the class asking if everyone is well and if they have any injuries. You need to speak up! You don’t have to announce your condition to everyone, but make sure you arrive 5 minutes early and have a quiet chat with the instructor.
As I tell my clients with injuries (and most of us have had some form of injury over the years) – there is always an alternative exercise for you.
Having the knowledge to make good decisions for your body opens up more class options as you are not limited by classes that are specific to your needs.
How to modify the plank
The plank is not recommended if you are at risk of or have pelvic floor dysfunction. But you can modify the exercise to make it pelvic floor safe.
- Start by lying on the floor face down. Turn your head to one side and allow your toes to turn inwards so that your heels roll out to the side. Place one hand underneath your upper abdominals and the other across your lower abdominals, near your hip bones.
- Gently breathing in and out, focus on lifting your pelvic floor. Hold for 3 to 4 seconds and then slowly release. Repeat this again.
- The next step is to include your transverse abdominals. Again, breathing in and out gently, lift your pelvic floor and start to draw up your lower abdominals. You should feel a slight change in pressure against your lower hand. If your upper abdominals also contract, then relax again and try to only lift the muscles under your lower hand. This might take a few repetitions and only once this has been mastered, can you move onto the next step. This is what is known as a core contraction.
- The next progression is to add more load and this is when you lift yourself onto your elbows, lifting your head up but still looking straight down to the floor. Your shoulders and upper back muscles need to feel active, with your chest away from the floor (but not hunching your upper back). Breathing in and out, lift your pelvic floor and draw in your transverse abdominals. Make sure to keep breathing and hold the contraction for up to 10 seconds. Relax your abdominals and your pelvic floor. If you do not feel your muscles relax then this activity is too intense for you and you need to go back to step 3.
- The final progression is to move onto your knees once you can sustain an activation in your pelvic floor and transverse abdominals. Begin on your elbows, lifting your pelvic floor and transverse abdominals and finally on an out breath, lift up onto your knees so that your head is in line with your hips. Breathe in and out in this position and lower your body to the floor, relaxing your transverse abdominals and pelvic floor. The maximum time that this exercise should be held for is 10 seconds, no longer.You can explain to your instructor before or after the class that you will or have modified the exercise to suit your needs and they will find this acceptable if you feel that there is pressure to ‘perform’.
Progress slowly and ensure that you can always feel a relaxation of the pelvic floor between exercises. If you do not have this sensation, then your pelvic floor may be fatigued and you should continue with lying on the floor and focusing on lifting your transverse abdominals away from your hands (and not the upper abdominals).
If you are unsure that you are engaging your pelvic floor muscles correctly, check with a physio or an instructor who is trained in Pilates or women’s health exercise.
Remember – modified exercise is better than no exercise at all!
Based on article by Marietta Mehanni, Pelvic Floor First ambassador
